PRO Freediving Buoy
PRO Freediving Buoy
PRO Freediving Buoy
PRO Freediving Buoy
PRO Freediving Buoy
PRO Freediving Buoy
PRO Freediving Buoy
PRO Freediving Buoy
PRO Freediving Buoy
PRO Freediving Buoy

PRO Freediving Buoy


The premium buoy with safety, durability, and convenience in mind.
Regular price$420.00
/
Shipping calculated at checkout.

Size chart

Size Chart

General recommendations

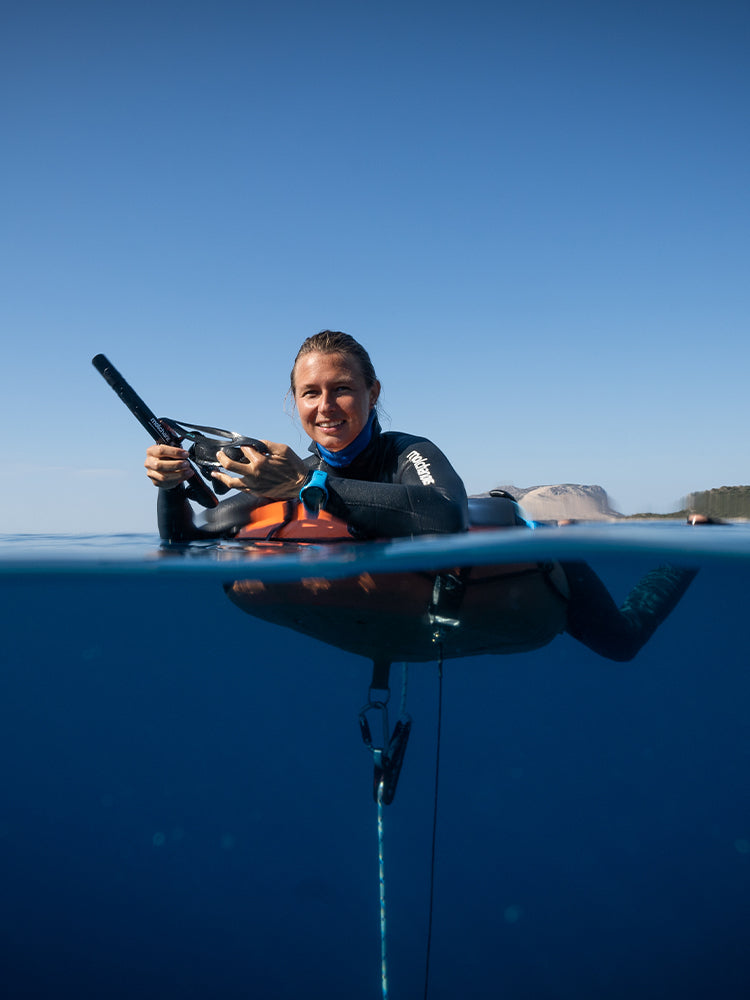
The 80cm PRO Freediving Buoy is appropriate for comfortable diving for 5 people. The number can differ depending on the size and weight of freedivers, the length of the rope they use, and the amount of additional gear they use during their dive. For safety reasons, remember that one instructor may have a maximum of 4 students during a depth training session.

To safely set up your PRO Freediving Buoy

  1. Before each dive, inspect the buoy, rope, and D-ring for any visual damage.
  2. Insert the buoy-end of the rope into the loop inside of the buoy and insert the other end of the line through the carabiner on the D-ring. If you are using a pulley system (highly recommended), you can hook the pulley system directly to a carabiner on the D-ring.
  3. Attach the bottom weight to the rope with an appropriate knot (e.g., water bowline) or a carabiner.
  4. If you are using a pulley system, skip to step 7. It is highly recommended that the pulley system is attached to the buoy’s D-ring with a carabiner instead of a shorter piece of rope.
  5. Attach the bottom weight under the buoy with a carabiner and/or an appropriate knot.
  6. Attach the dive line with a clove hitch at the target depth.
  7. Take the line out of the float.
  8. Carefully inspect the dive site. If there are divers underwater, wait until they swim away before slowly releasing the line with the bottom weight attached.
Note: If you are not using a pulley system, make sure that the weight does not tangle itself with any part of the line as it is lowered. If the dive line is properly braided, this should not be a problem and you will not need to open the braid before lowering the bottom weight. The sinking bottom weight will open the braid automatically and the descent will be stopped by the clove hitch when the rope is fully unbraided.
The premium buoy with safety, durability, and convenience in mind.

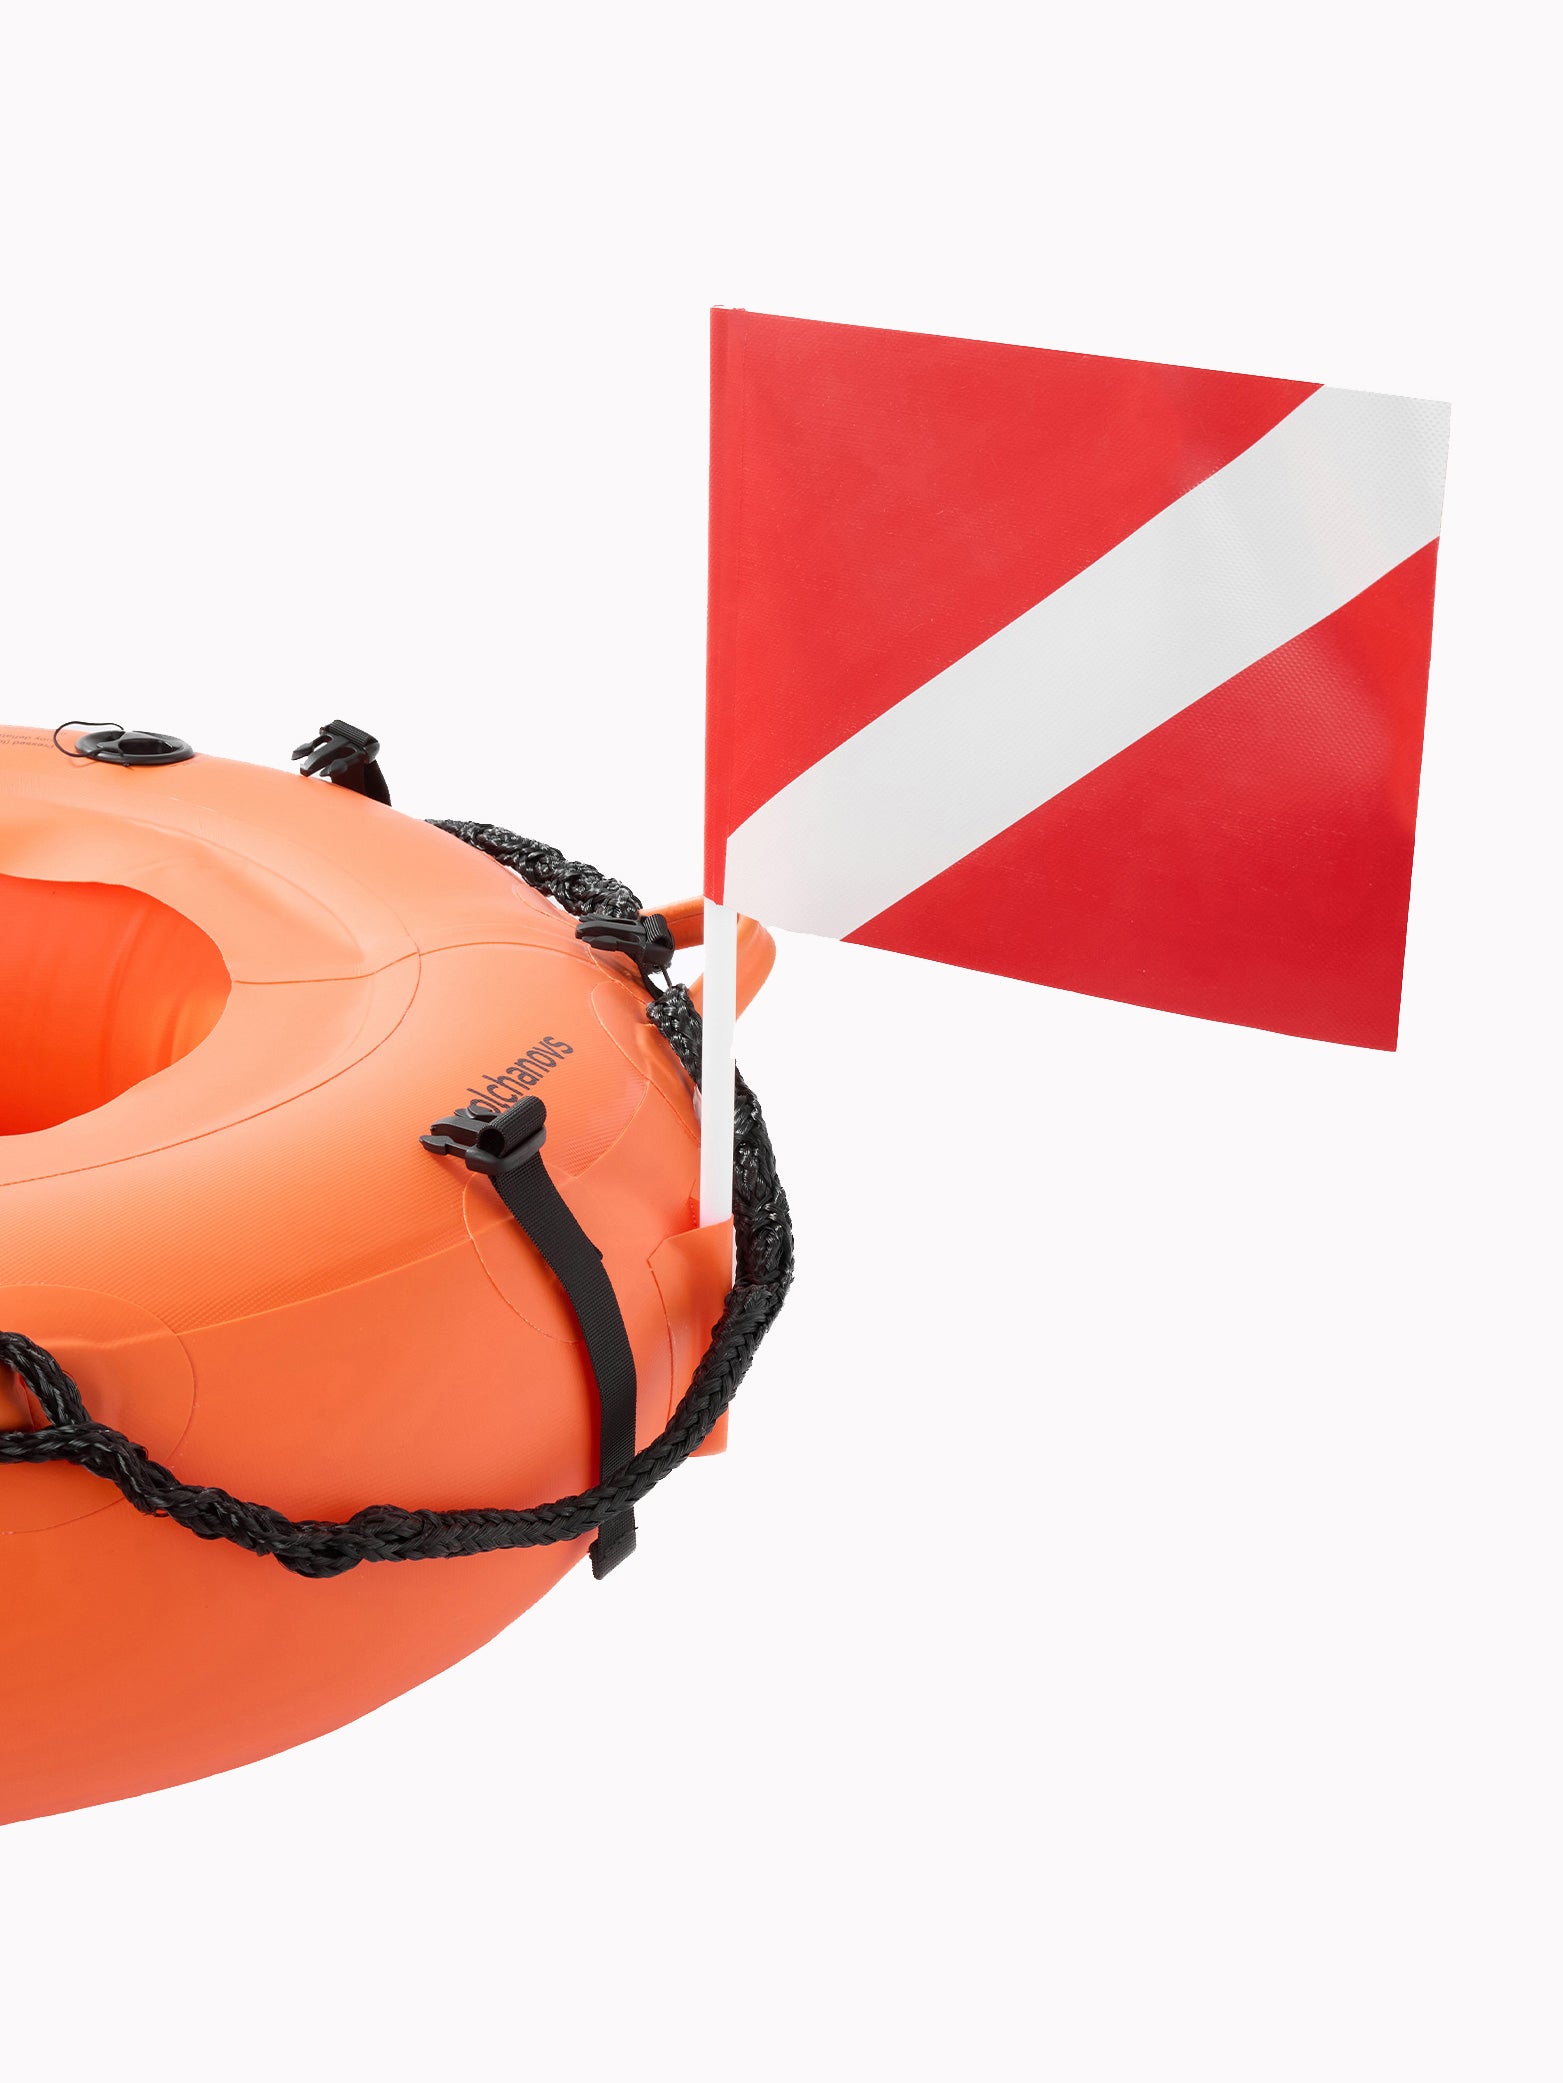
The PRO Freediving Buoy is a premium freediving buoy made with every type of freediver in mind. Athletes value the spacious interior for longer dive lines and the large surface area for deep dives. Instructors appreciate the double-chamber construction for safety and large, flexible handles for comfortable positioning. Traveling freedivers enjoy how easy it is to inflate the buoy by mouth and the large mesh pocket to store their smaller items. And everyone loves the durability and long lifespan of the PRO Freediving Buoy.

Safety in mind
A double-chamber construction ensures slower deflation in case of an accidental puncture.

Ideal for deep dives
The buoy’s large surface area creates stability in choppy conditions, especially for FIM dives.

Travel-friendly
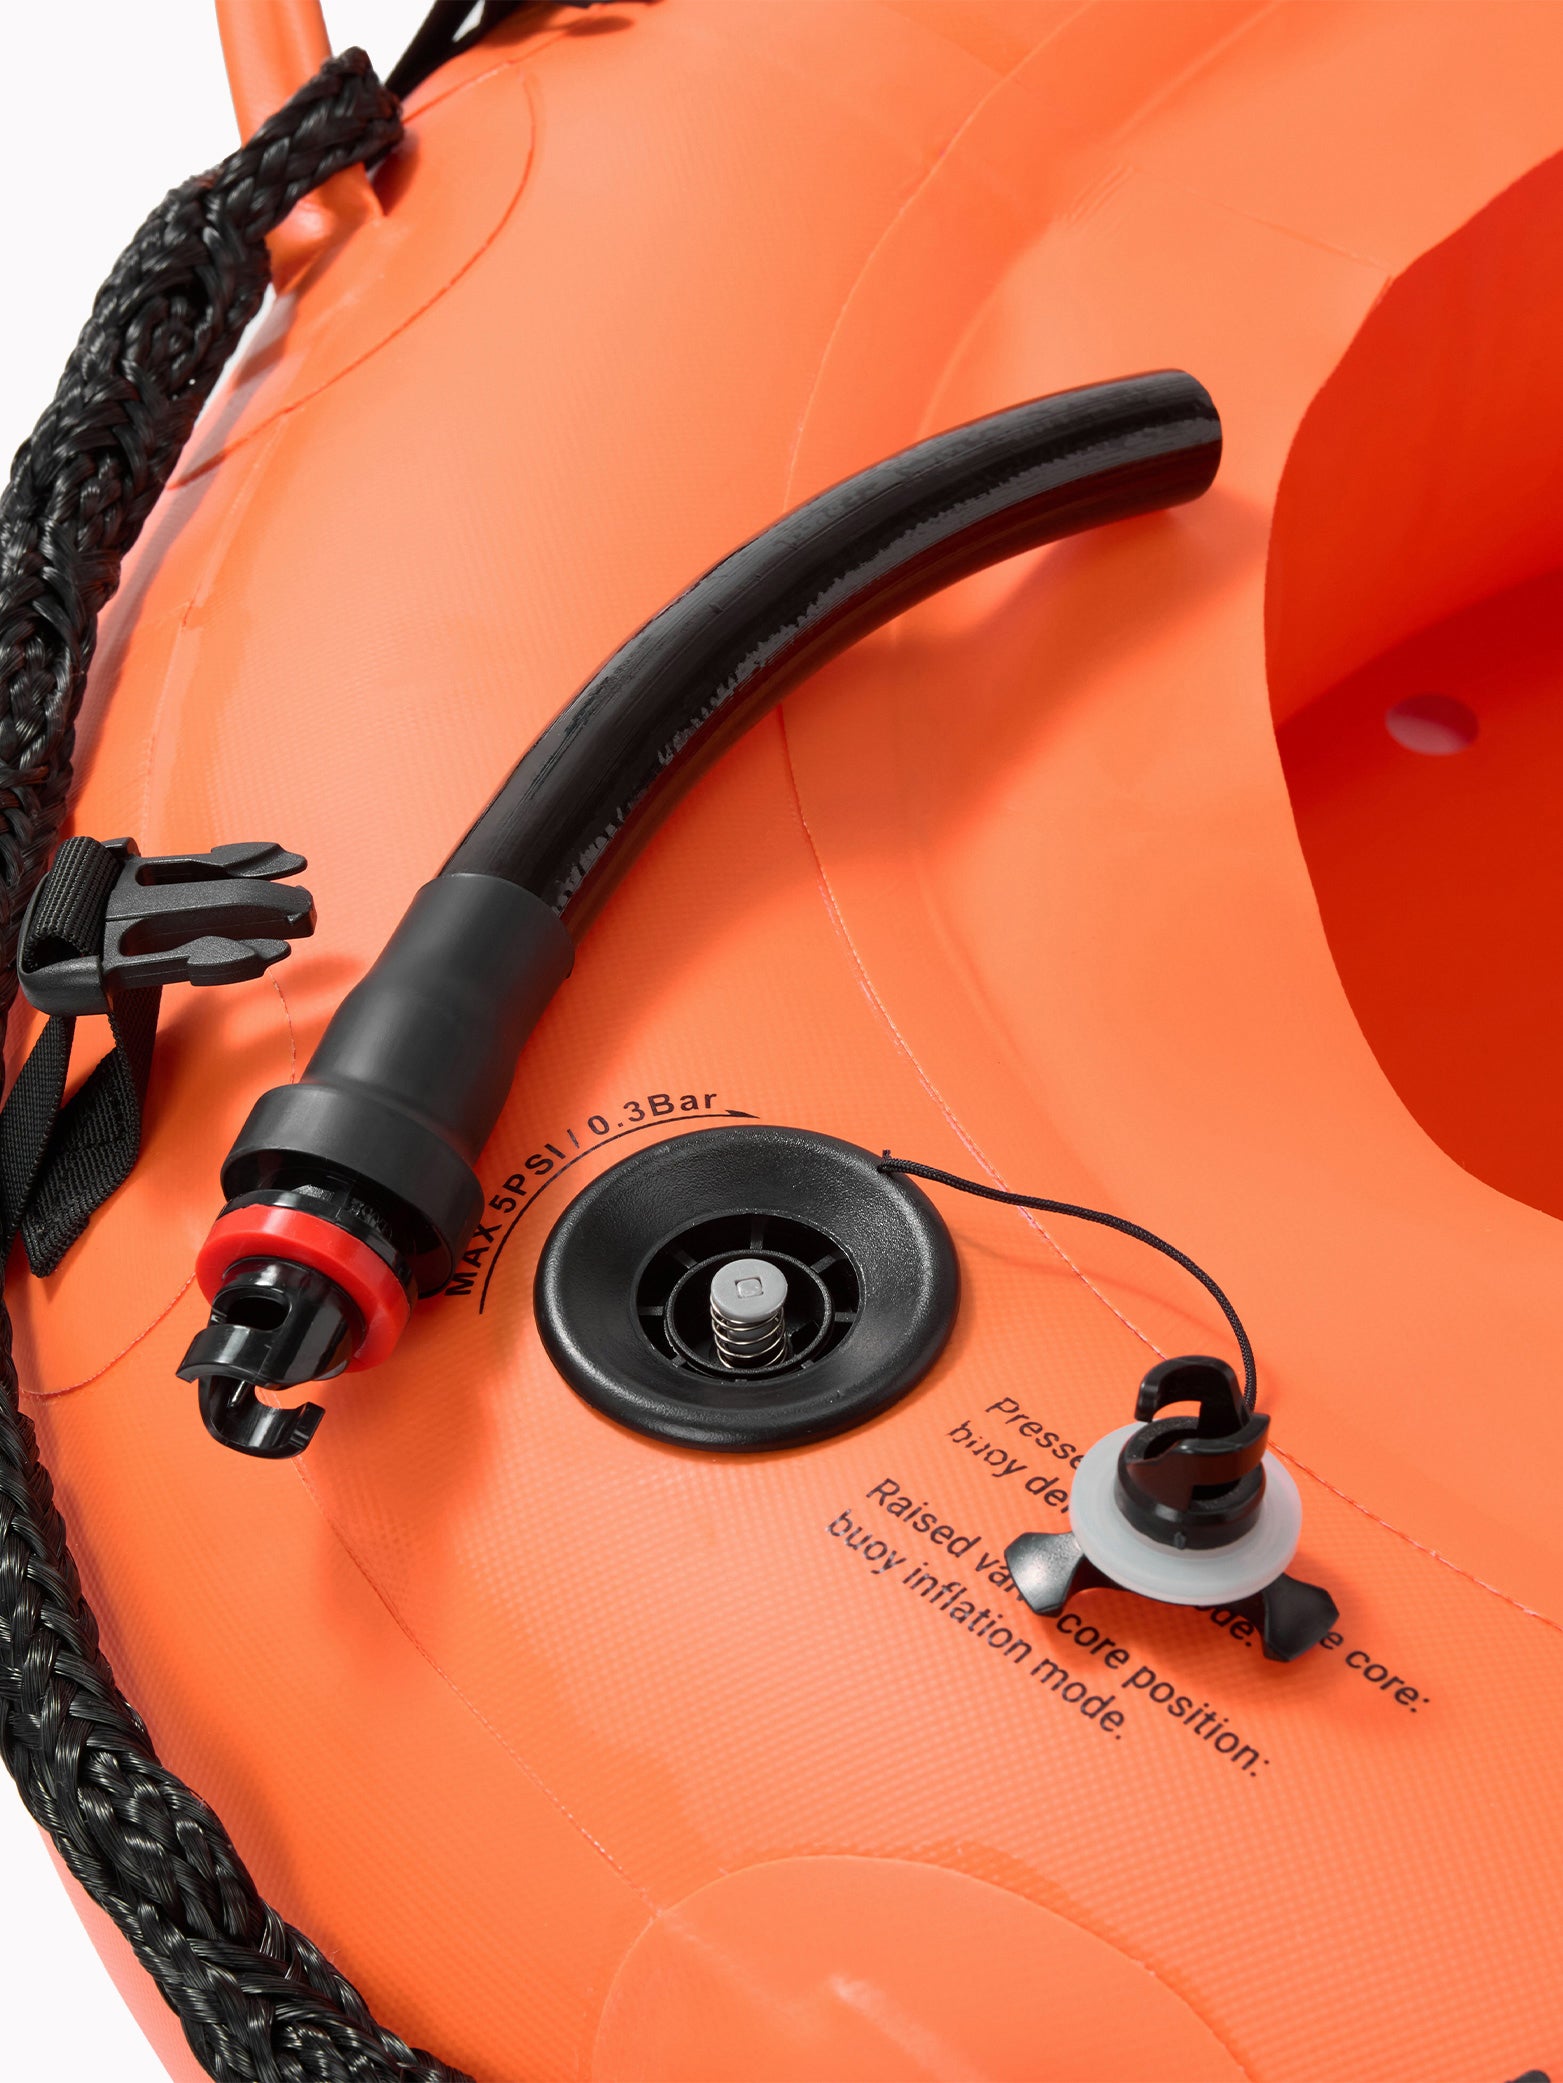
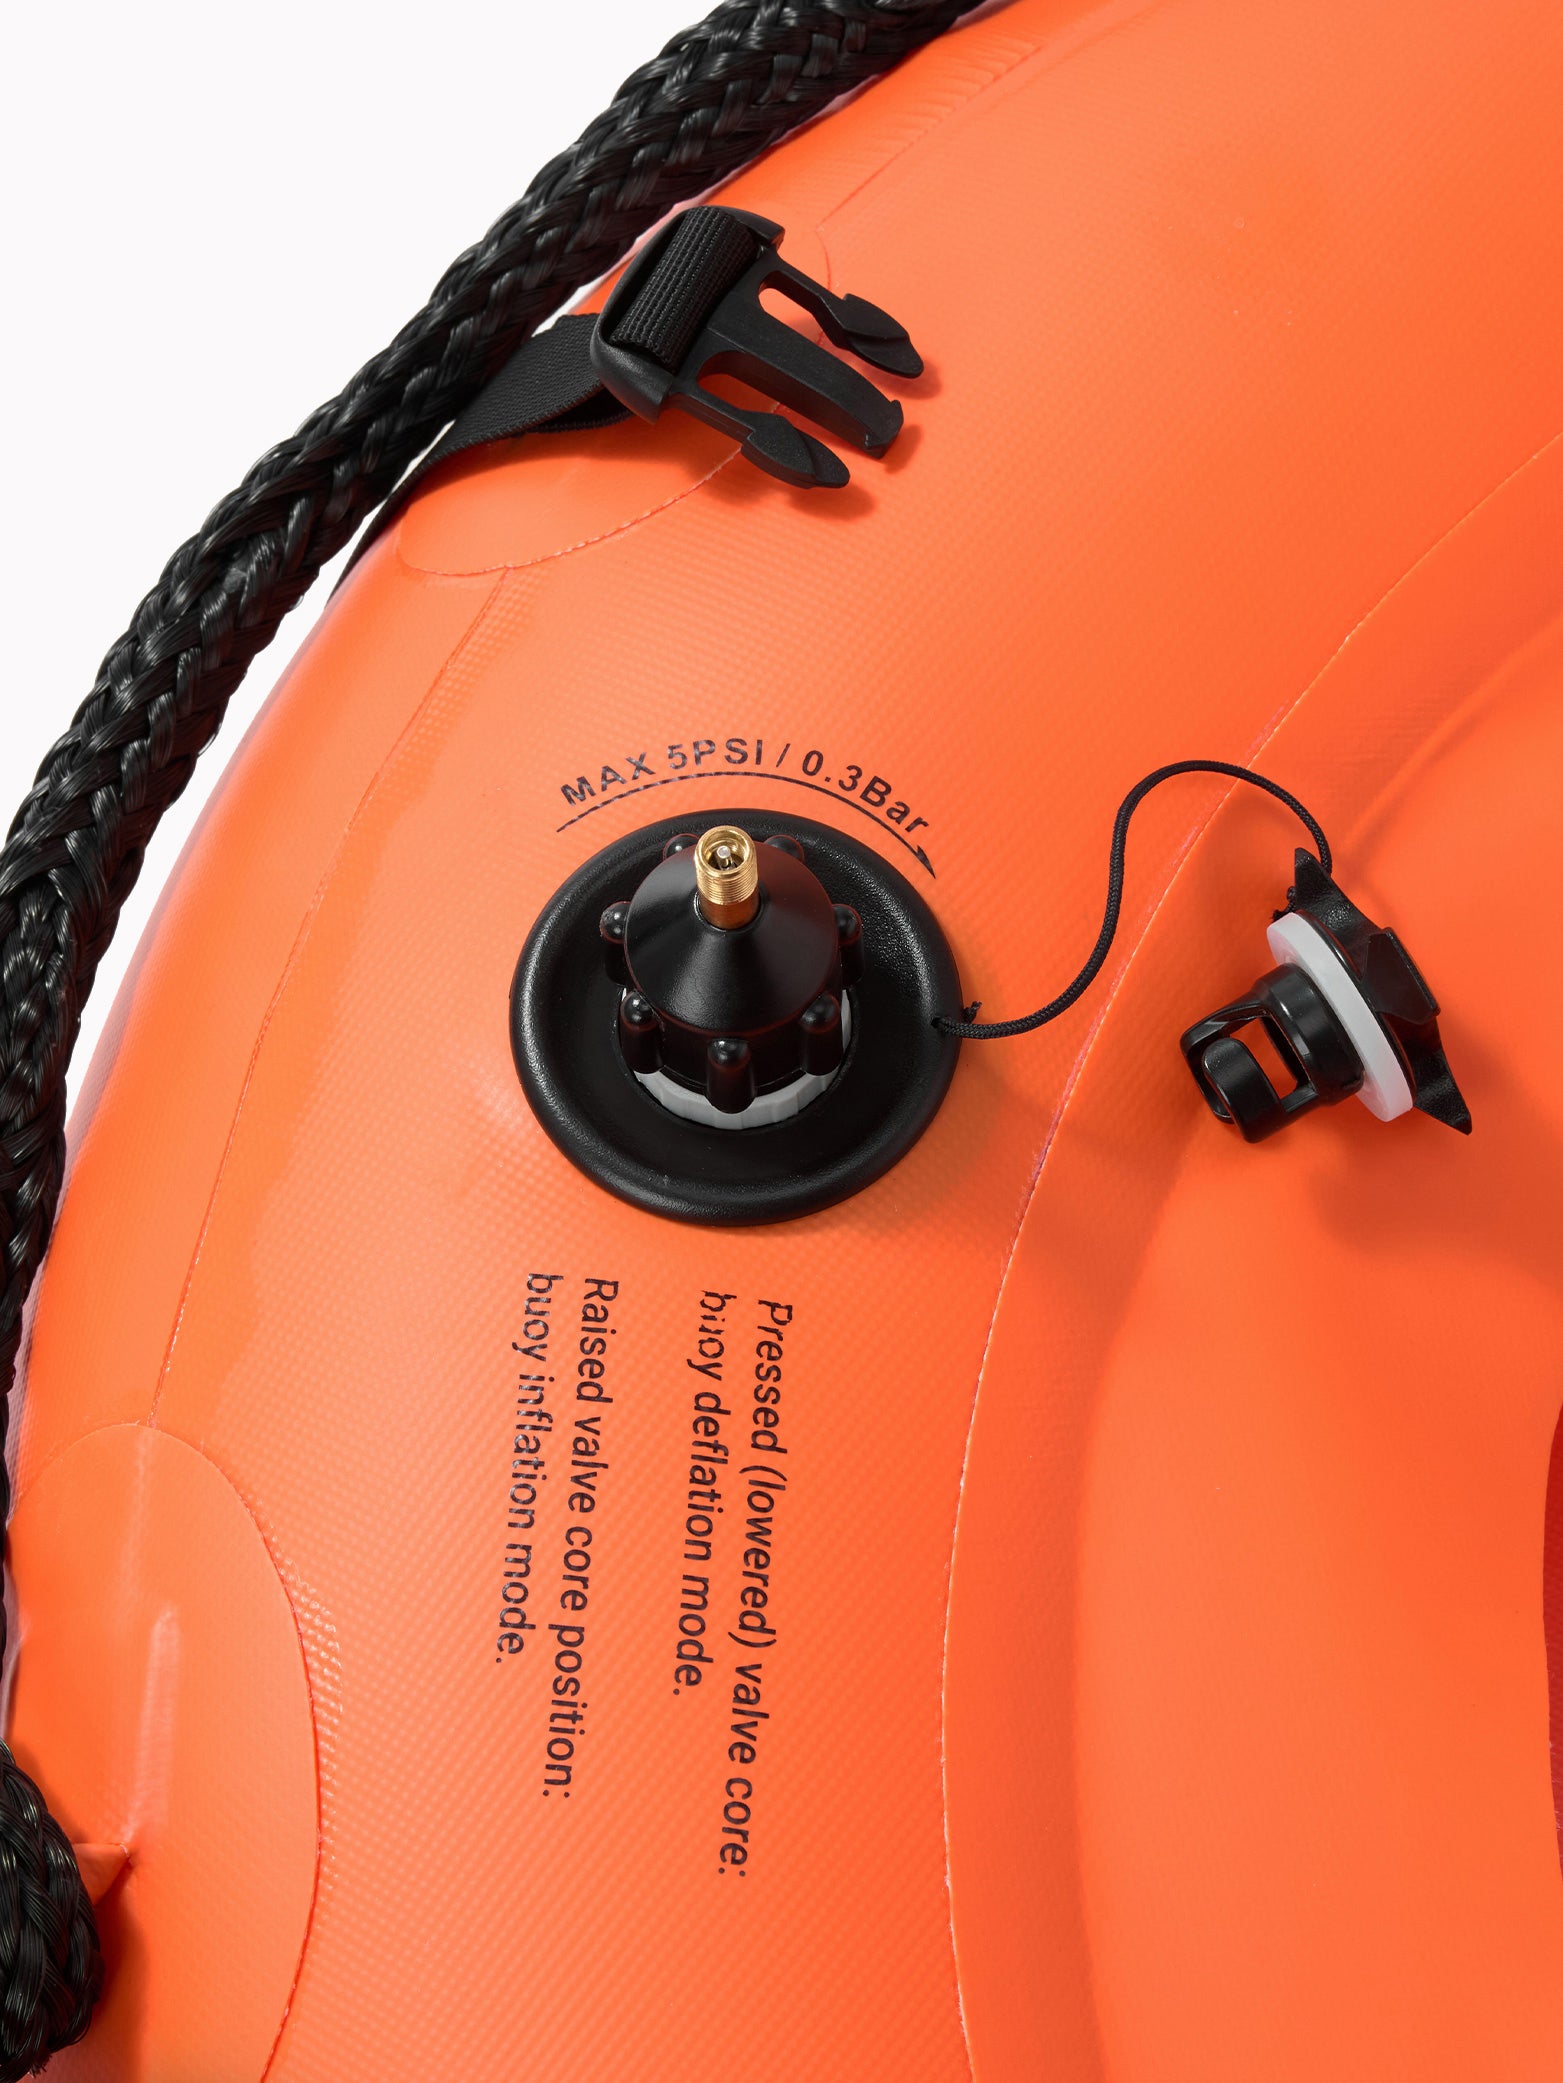
Easily inflatable by mouth or pump and packs well for every freediving adventure.

Durable
A water-repelling PVC exterior is tougher than fabric to keep its form over time, yet still smooth enough to comfortably rest your face on.

Longer lifespan
A flexible D-ring connection under the buoy lets your carabiner move more freely, protecting it from the typical wear and tear of a fixed connection.

Ample storage space
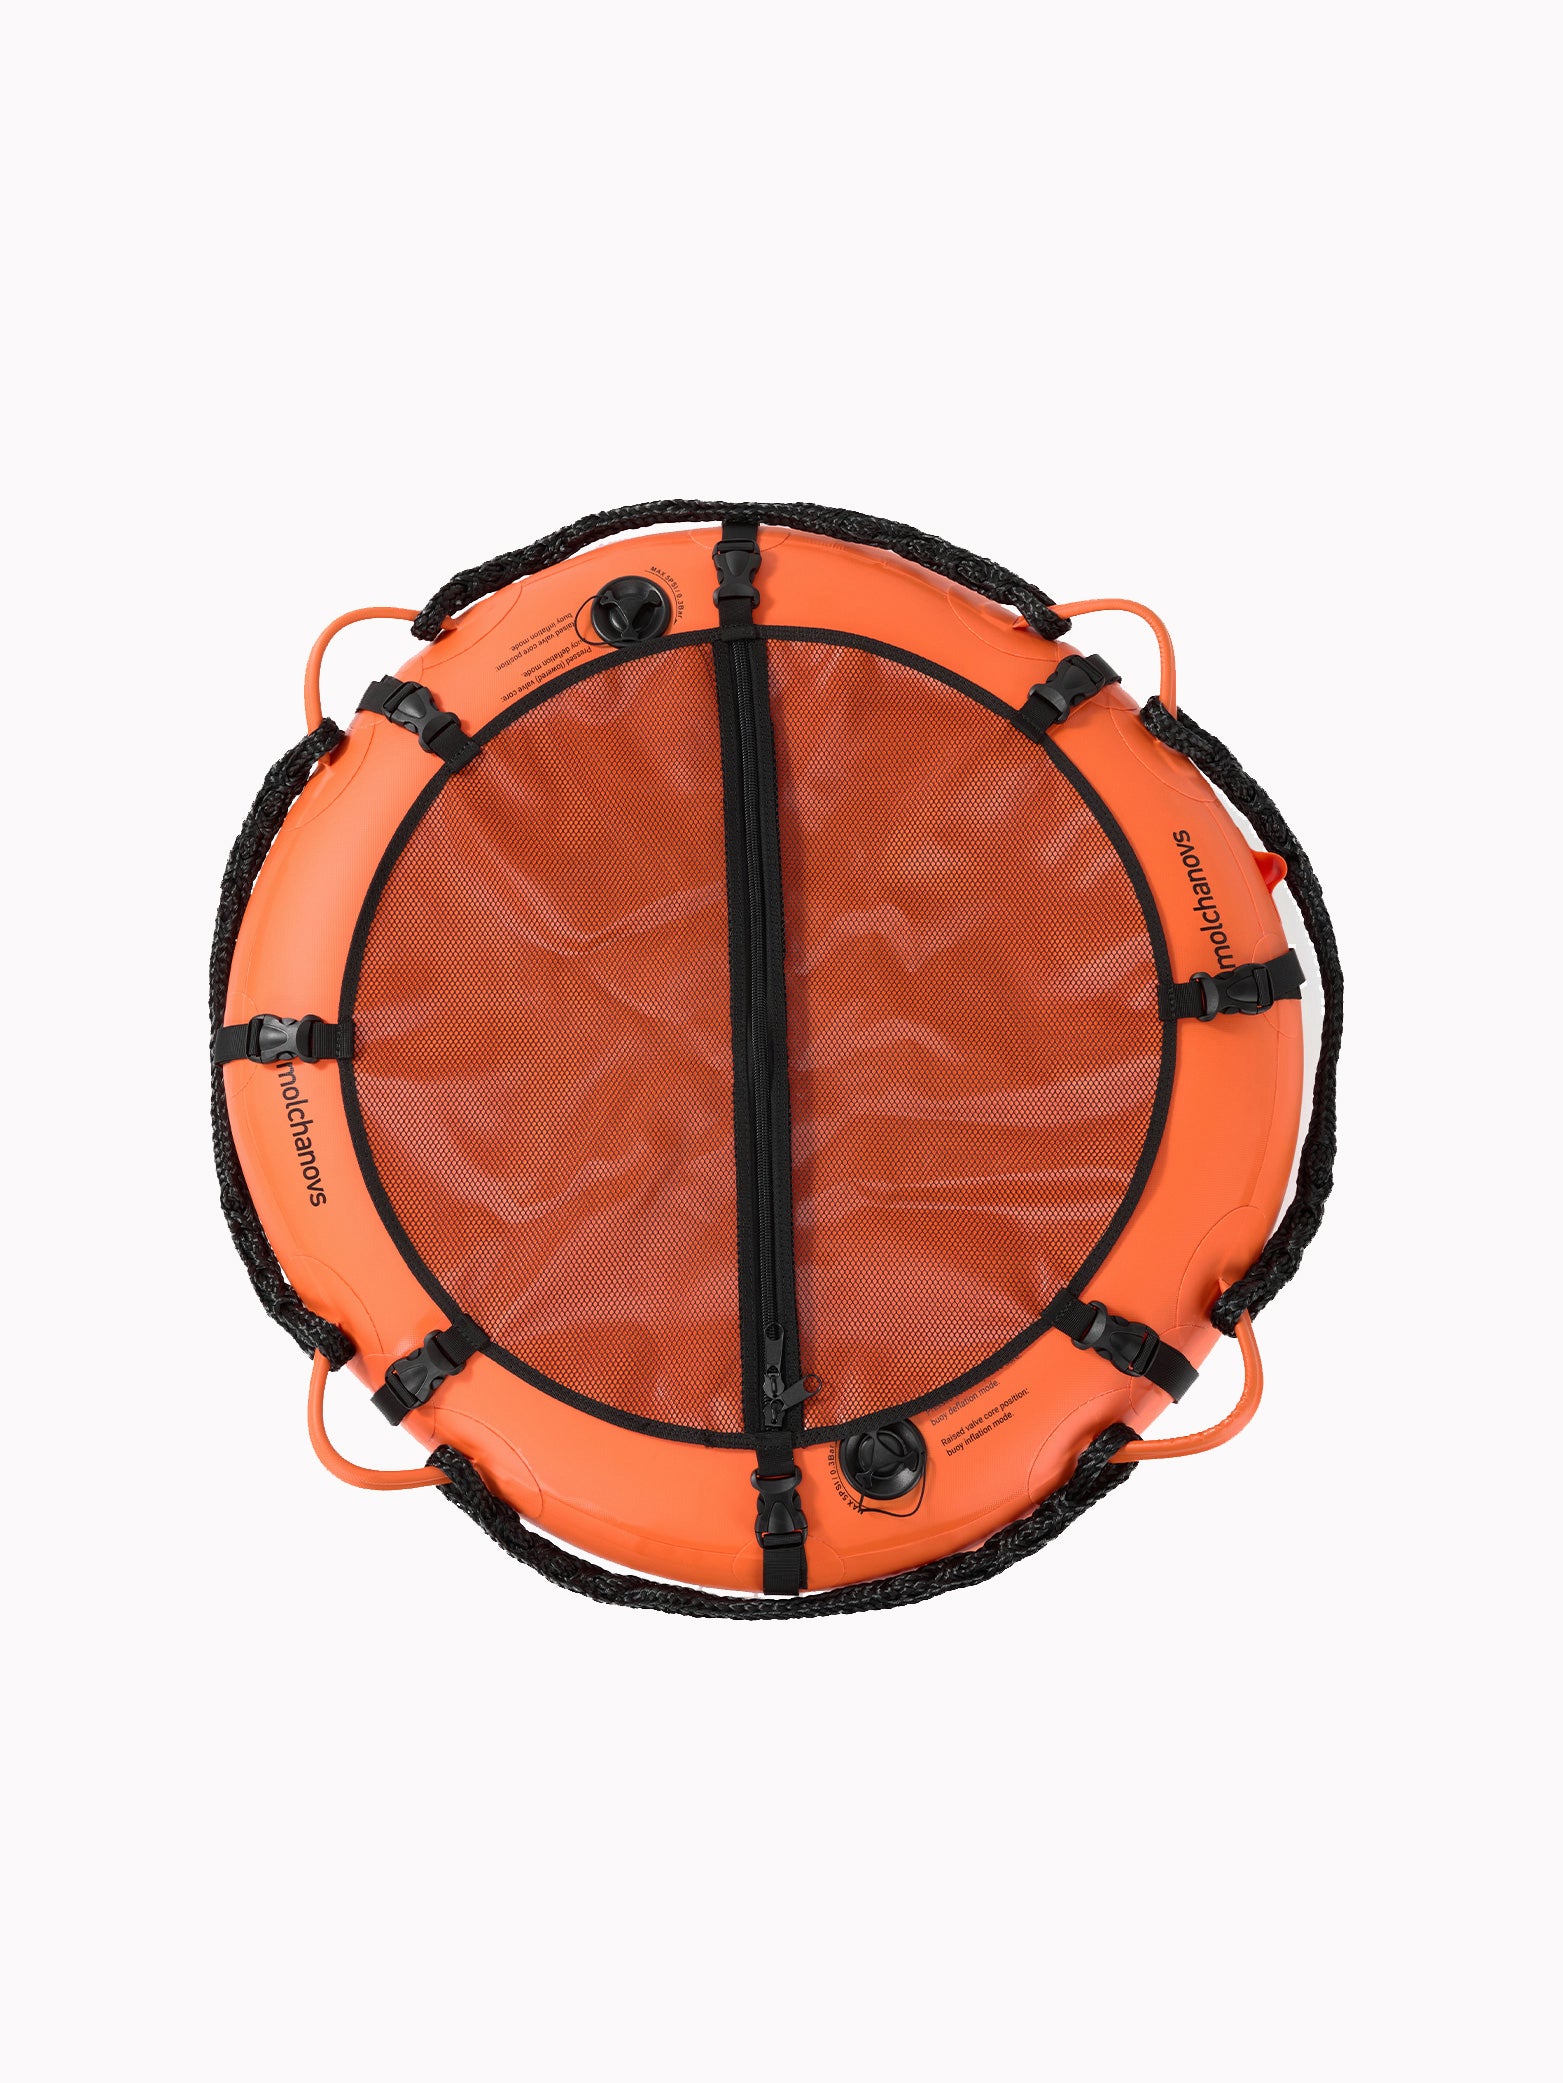
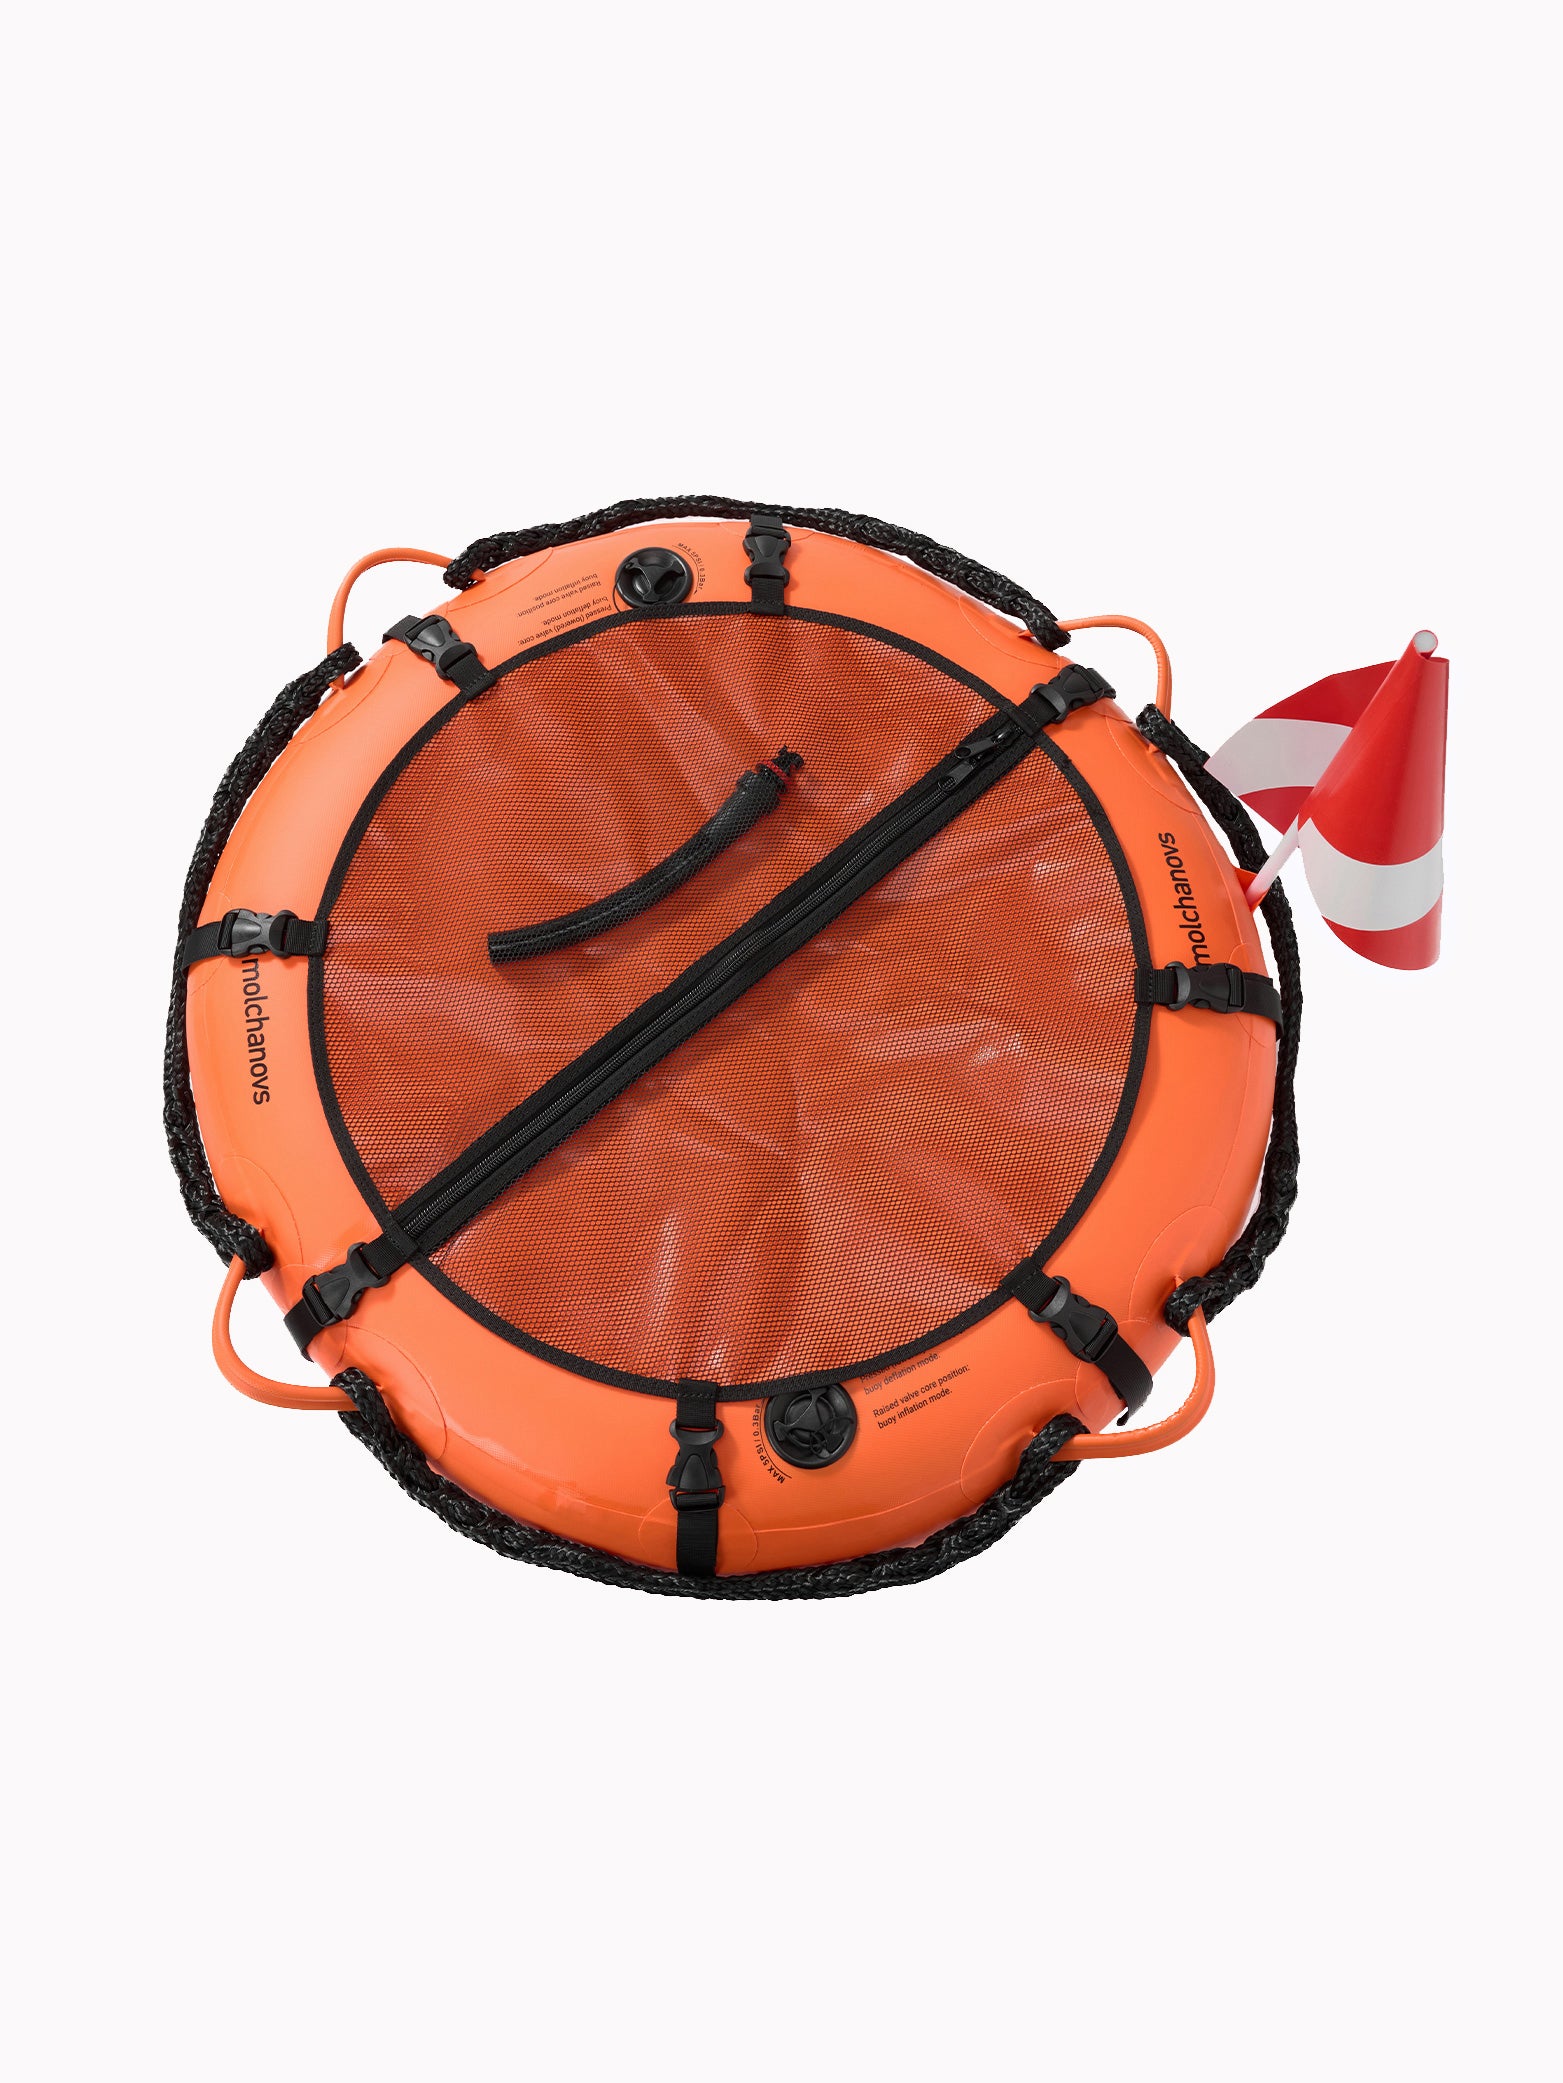
A large interior can fit the longest of dive lines, with a large mesh pocket to secure small items such as water or action cameras.

Comfortable positioning
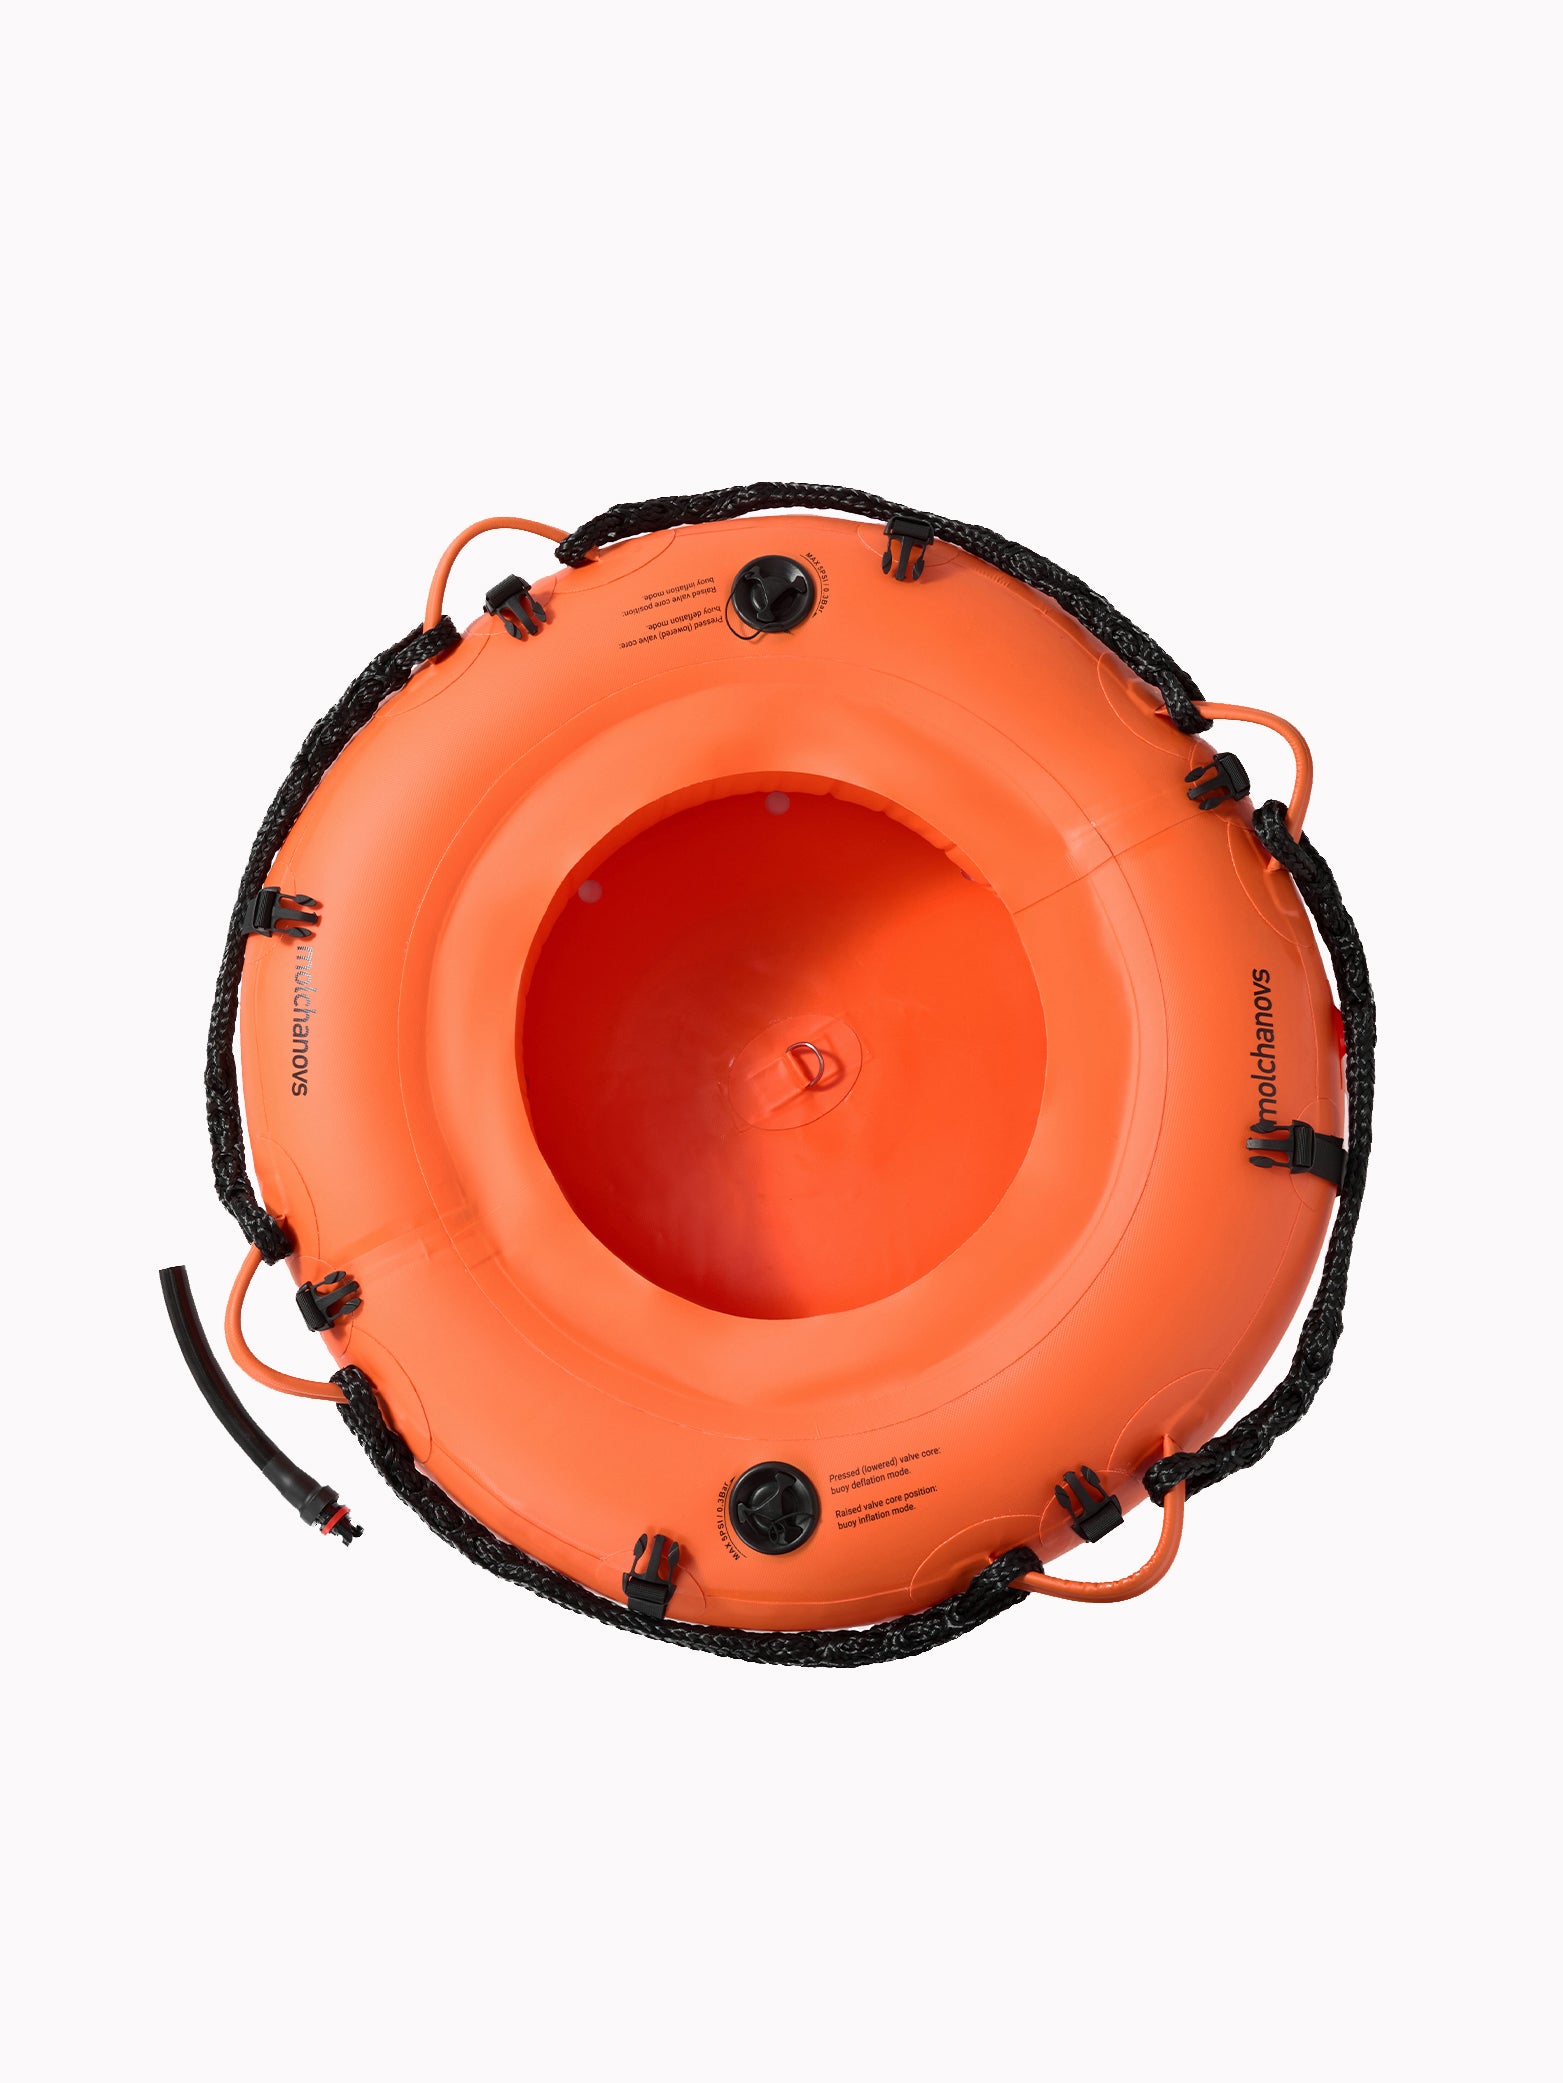
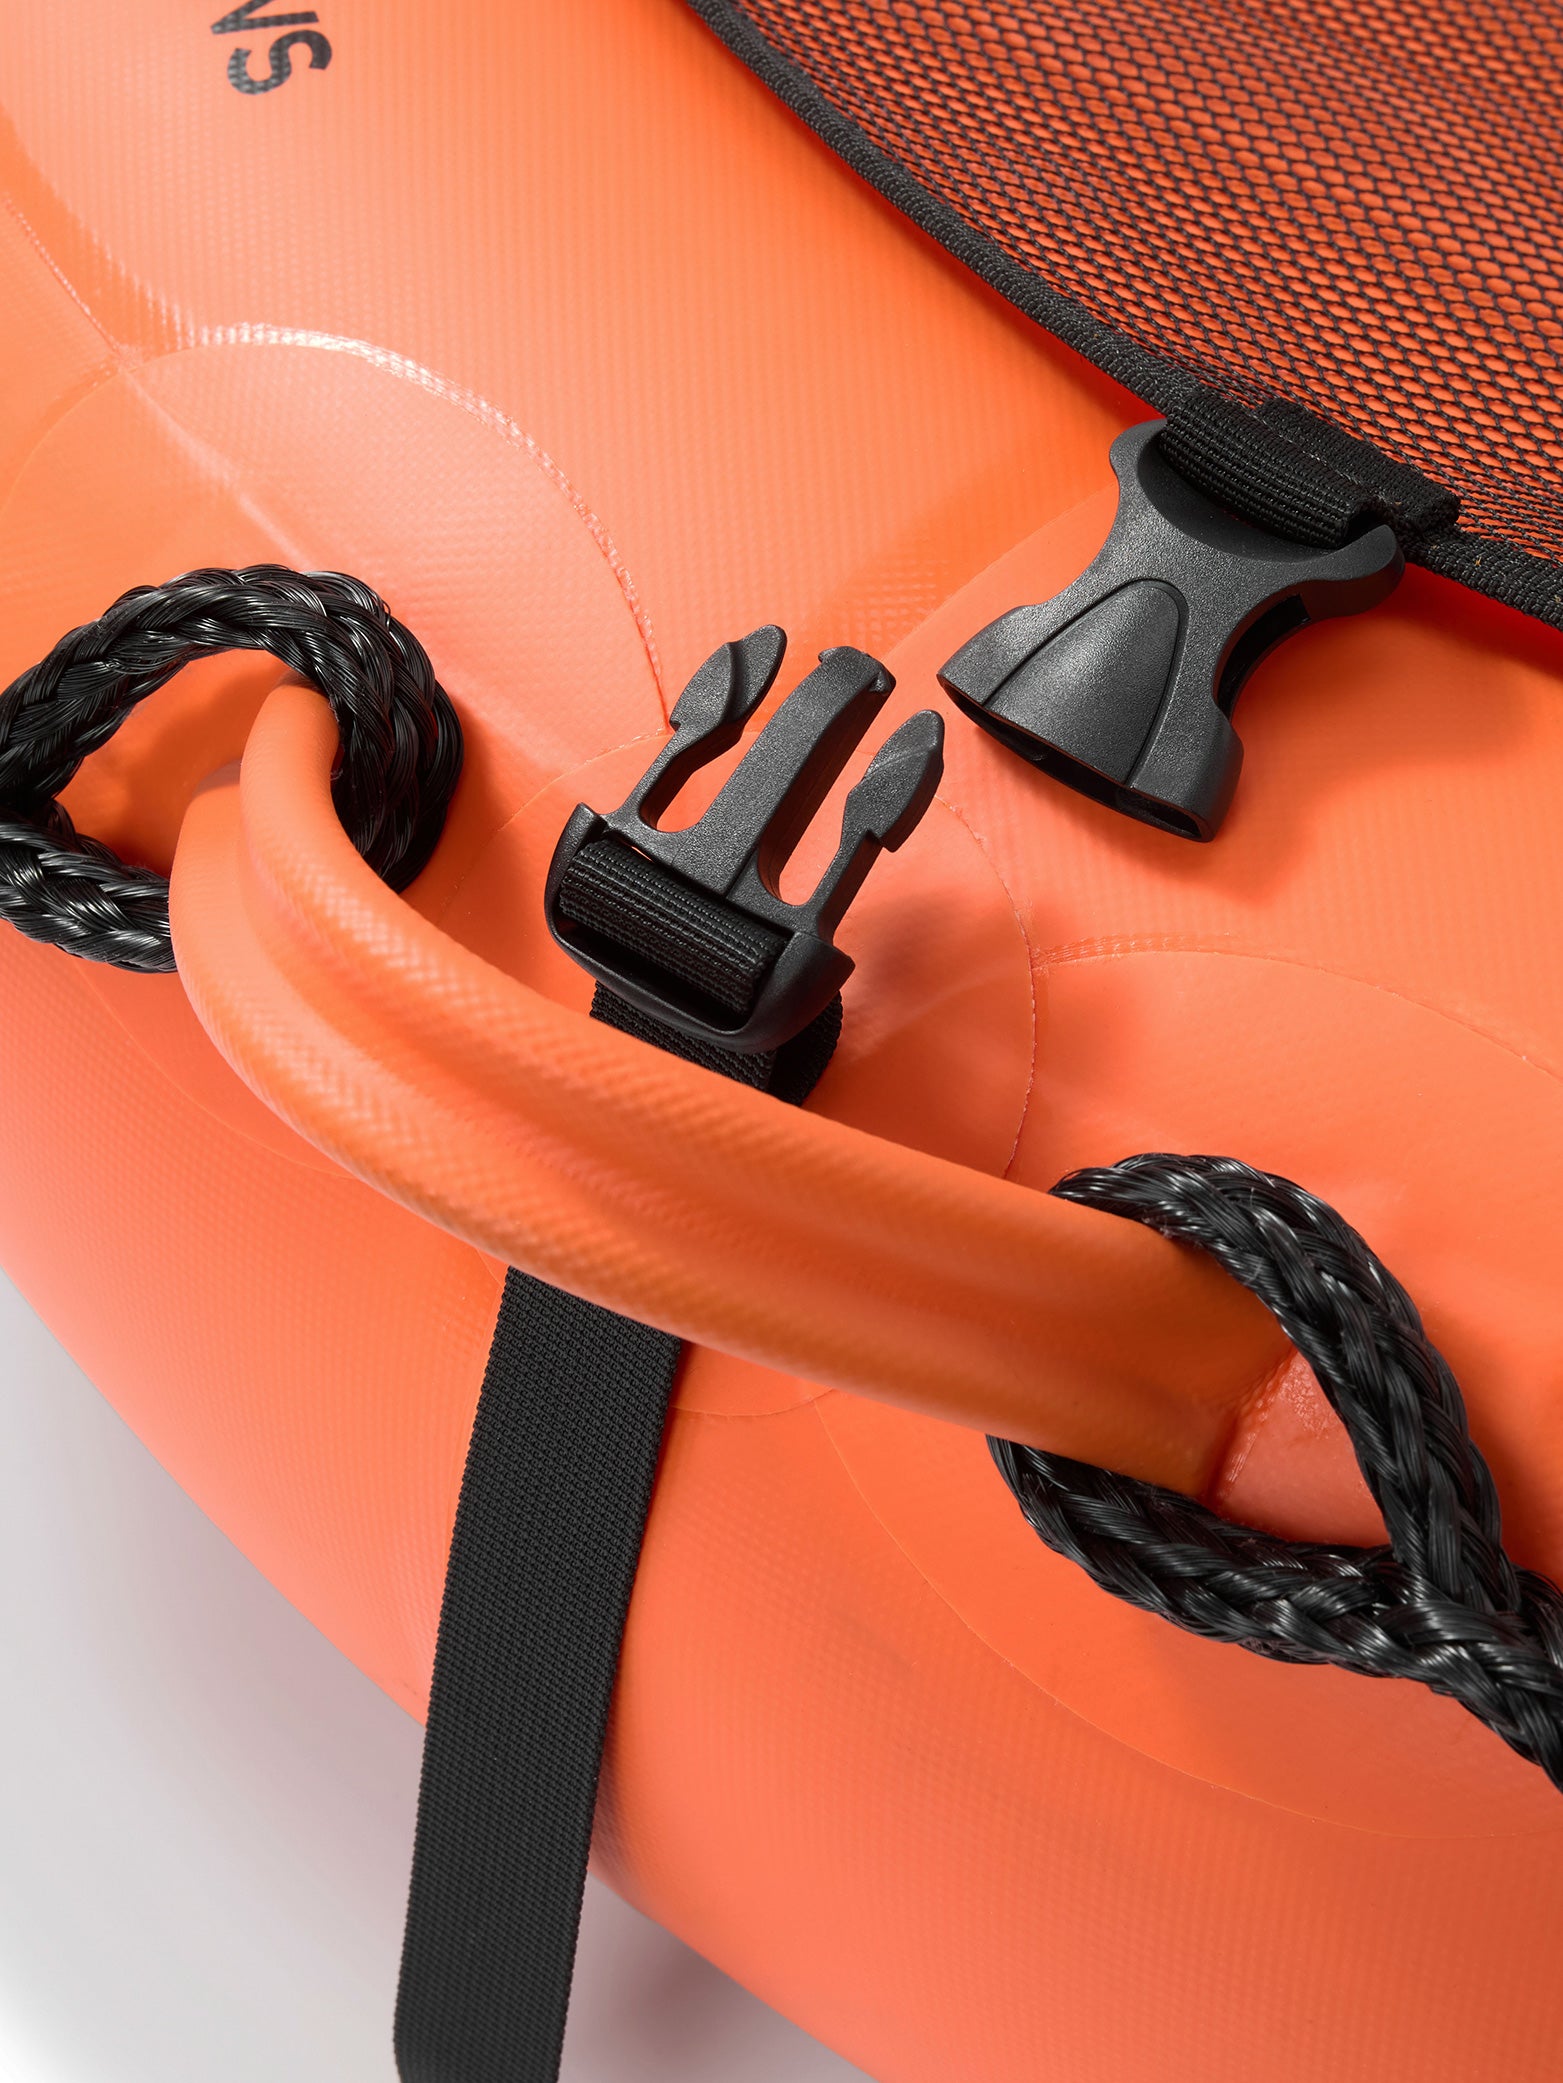
Six extra-large looping handles provide flexible anchor points for your surface line and let you rest comfortably from anywhere on the buoy.

◦ Material: Durable PVC
◦ Double-chamber construction
◦ Fully-integrated tube for easy transport
◦ Large PVC cover with a mesh zippered pocket secured with 6 buckles and 2 zippers for small-item storage
◦ Marine-grade stainless steel D-ring secured from a hanging loop for durability
◦ Interior D-ring for line management
◦ 6 extra-large looping handles constructed from sailing rope
◦ 8 water drainage holes
◦ Inflatable by mouth or air pump
◦ Lightweight and travel-friendly

Technical Specifications

◦ Dimensions:

  • Outer Diameter: 80cm (31.5in)
  • Inner Diameter: 45cm (17.7in)
  • Height: 20cm (7.9in)

◦ Empty Weight: 2.8kg (6.2lb)
◦ Recommended Load: 10 - 30kg (22 - 66lb)

Care Instructions
All equipment should be rinsed in fresh water after use and placed out of direct sunlight and heat. Avoid placing or storing the buoy around sharp objects. See the full list of care instructions here.

Warranty Policy
A 1-year limited warranty applies. Please note that defects or damage to the equipment caused by improper or incorrect use or insufficient/improper maintenance and product care will render our warranty policy null and void.

Size Chart

General recommendations

The 80cm PRO Freediving Buoy is appropriate for comfortable diving for 5 people. The number can differ depending on the size and weight of freedivers, the length of the rope they use, and the amount of additional gear they use during their dive. For safety reasons, remember that one instructor may have a maximum of 4 students during a depth training session.

To safely set up your PRO Freediving Buoy

  1. Before each dive, inspect the buoy, rope, and D-ring for any visual damage.
  2. Insert the buoy-end of the rope into the loop inside of the buoy and insert the other end of the line through the carabiner on the D-ring. If you are using a pulley system (highly recommended), you can hook the pulley system directly to a carabiner on the D-ring.
  3. Attach the bottom weight to the rope with an appropriate knot (e.g., water bowline) or a carabiner.
  4. If you are using a pulley system, skip to step 7. It is highly recommended that the pulley system is attached to the buoy’s D-ring with a carabiner instead of a shorter piece of rope.
  5. Attach the bottom weight under the buoy with a carabiner and/or an appropriate knot.
  6. Attach the dive line with a clove hitch at the target depth.
  7. Take the line out of the float.
  8. Carefully inspect the dive site. If there are divers underwater, wait until they swim away before slowly releasing the line with the bottom weight attached.
Note: If you are not using a pulley system, make sure that the weight does not tangle itself with any part of the line as it is lowered. If the dive line is properly braided, this should not be a problem and you will not need to open the braid before lowering the bottom weight. The sinking bottom weight will open the braid automatically and the descent will be stopped by the clove hitch when the rope is fully unbraided.

Production time
If the product is currently in stock, it will be sent out to you within 2-5 business days. If the product is out of stock, we will contact you by e-mail to inform you about possible delays. If you order this product along with another product that has a longer production time, you entire order will be shipped with all of the items together once the product with the longest production time is ready.

Shipping and returns
See the Shipping and Returns section of the FAQ here.

This site is protected by reCAPTCHA and the Google Privacy Policy and Terms of Service apply.